Sunday 26 February 2012

Costume & Make-up

This was the first pre-filming attempt at the make up and costume for the shoot.

These were the healing bite wounds for the Day Shoot.


Making the fake blood;


Actors make-up and bite marks for the 'attack' scene;


Monday 20 February 2012

Progress Update

There are 6 weeks until the Easter break which means - 6 weeks of lesson time to complete my foundation portfolio.

There are 60 marks available for construction and 20 marks for Research and Planning and 20 marks for evaluation - 100 marks in total

To achieve a grade:

A I need to get 80 marks

B I need to get 70 marks

C I need to get 60 marks


To be in level 4 (grade A/B) my work must demonstrate excellence throughout.

By Monday 5th March I should have a rough cut of my products

By Monday 19th March my products should be completed

From Monday 19th - Friday 30th March I will be working on my 7 evaluation questions.

The my completed portfolio should be submitted for formal marking on Monday 16th April. I should use the Easter break to make any minor amendments to my work.

In order to meet these deadlines, and gain the grade I am aiming for (A/B), I will:
  • Attend all lessons before the deadline.
  • Work both in and out of the class room.
  • Have all Costumes and Props organised before the shoot.
  • Have all footage shot and ready to edit by the end of this week (Beginning 20th Feb 2012).
  • Start creating my soundtrack in GarageBand or create the opening credits in Final Cut Express if I am unable to start filming.
  • Make sure to update blog posts as soon as I complete parts of the project. 
  • Keep up to date with all work and do not wait till last minute. 
  • Use all spare time to create project. 
  • Keep to the shooting schedule created.
  • Update blog if anything changes to my original ideas or cast while shooting. 
  • Meet all deadlines set in class, keep ahead if possible. 
  • Make sure actors know where and when to turn up for shooting.
  • Make sure they know what costume they where in what scene.

Friday 10 February 2012

Sketches of Potential Logos

Here are some sketches I have designed for my film opening which I shall create on Photoshop and place between my shots.

Here is a rough look at Logo designs I have created on Photoshop.

This is the page layout that I used.  
This is the shape of the Logo with out the text, created using the Guide Lines available on Photoshop and the Line Tool to create the lines of the house.
This is what it looks like without the Guides.
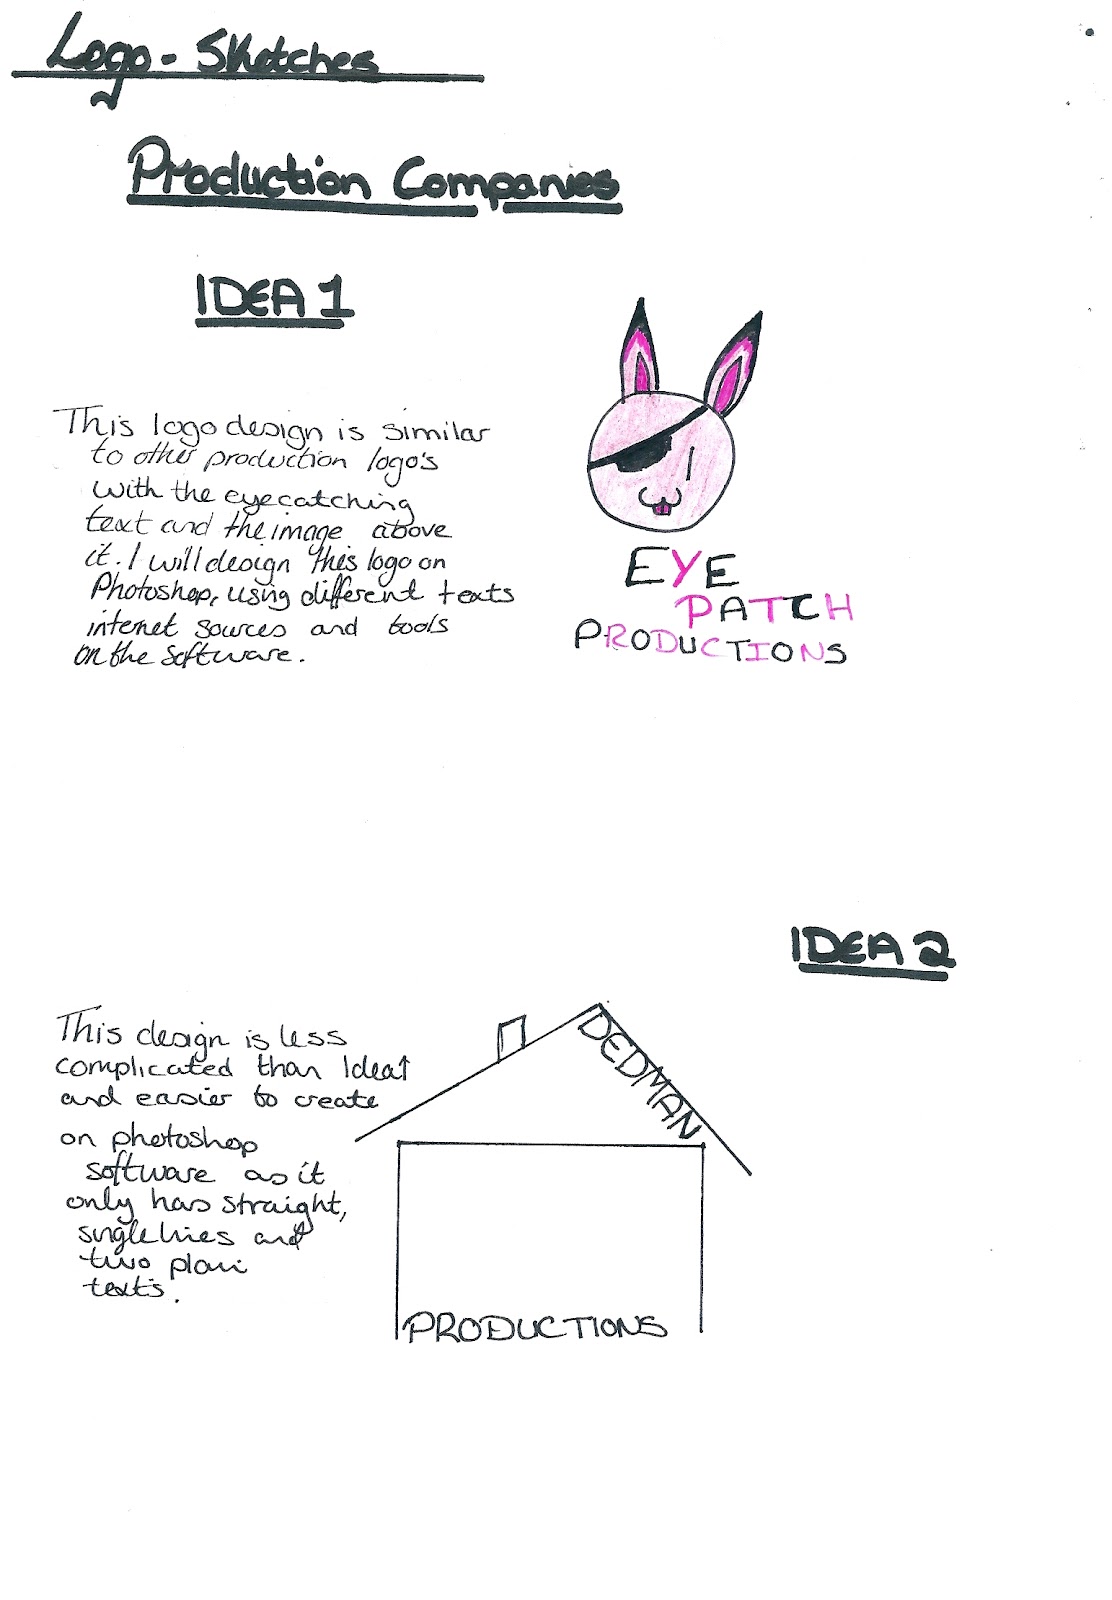
Using the Text tool I placed the company name where I had designed it to be in my original sketches and created a simple logo that can be used in a film opening.

Animatic


This is the animated storyboard that I created using the cut types, camera movements and editing pace that I planned. However it is shorter than the final product will be because it does not contain the opening titles and credits that it should have.

Research of Sound

In my product I will have loud, harsh sounds of the wind, gasping breath and a low discordant sounds track as to create an ominous atmosphere. This is due to researching many film openings and finding that they have similar sounds that create similar dark moods that I aim to have in my own film opening.

Costumes and Prop research

 
This is the style of hair I want for my protagonist because its different, punky and what I imagine my the character to have. 


This is the type of clothing I see the protagonist in. The colour is black. It is available in cheap stores such as Primark. The costume is to create a dark setting and to give the protagonist an anti-social aura.
These shoes match the outfit and look cool and fashionable but also original and different. They match the fashion I want for the protagonist.

Research into Logos

These are some of the Logos uses by some Production companies I have found.


Most of these logos have a picture above or below the name of the company. The name of the company is often in different colours, bold or arge to attract the audiences attention.

Here are some logos from distribution companies that I have looked at.


Call Sheets


Recce of Location

Location - The Grange, Hurworth
Patch of isolated trees. Quite dense with a ditch and small pond. The trees give the location a dark lighting and the location was the inspiration for some of my storyboard. The dark lighting and the overall isolation of the location make it a good place to shoot a film opening of the horror genre.


Location - The Grange, Hurworth
This location is only a few meters from the patch of trees that will be used for the forest location. It is a street that has little traffic during the day, being a part of a small village and will also help to present the cold, isolated protagonist. This location will be used for the street scene indicated in the storyboard. With the closeness of the this location to the others, it means that it will be easy to access and mean less time spent between shoots.


Location - Newton Aycliffe - House
This location is ideal for the end of the sequence where the protagonist is walking home because it has good lighting, but with that grey, down-trodden colours and sense of isolation. It is also easy to access.

Hazzard and Risk Assessment


Model Release Forms


These are the forms that my models have signed allowing me to use them in my work and bublish the final product on places such as YouTube.

Due to unforeseen circumstances, there was a need to replace Andrew as the antagonist.